As with the facial expression exercise, I
used Chris and Kat’s photo-shoot to study poses. In preparation for their wedding, Kat and I
had been researching wedding photography and found an article giving posing
advice on a website entitled, Rock N Roll Bride by Kat Williams.
Writer, Williams started the blog in the
run up to her own wedding in 2007. Realising that she didn’t want to stop after
the wedding, she decided to continue giving advice to people looking for more
alternative wedding ideas. This is now one of the biggest wedding blogs in the
world.
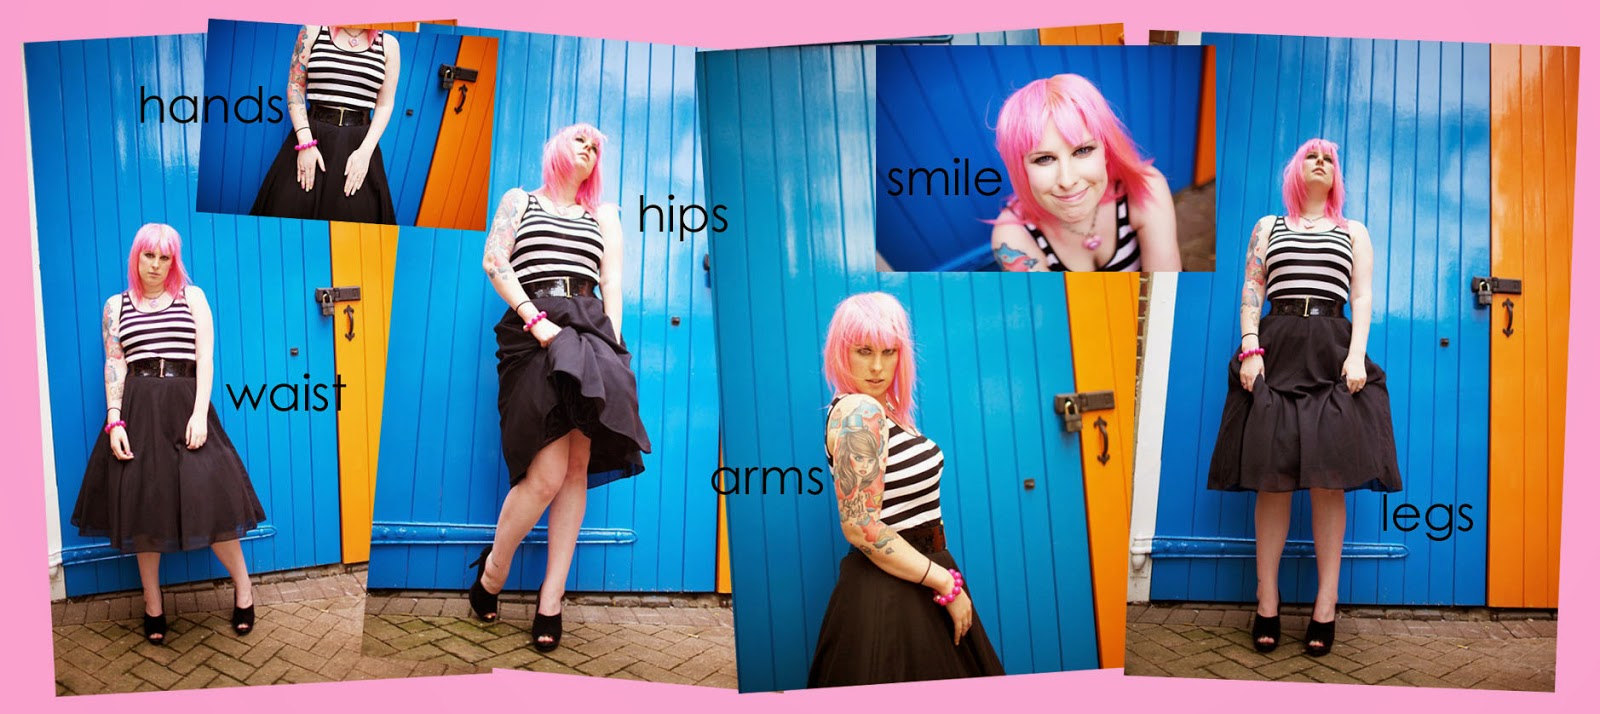
The article gives advice on ways to pose to enhance the shape of given parts of the body:

Bloopers

Great poses
Equipped with print outs of some of Rock N
Roll Bride’s suggestions, we set out to the couple’s favourite part of town. I
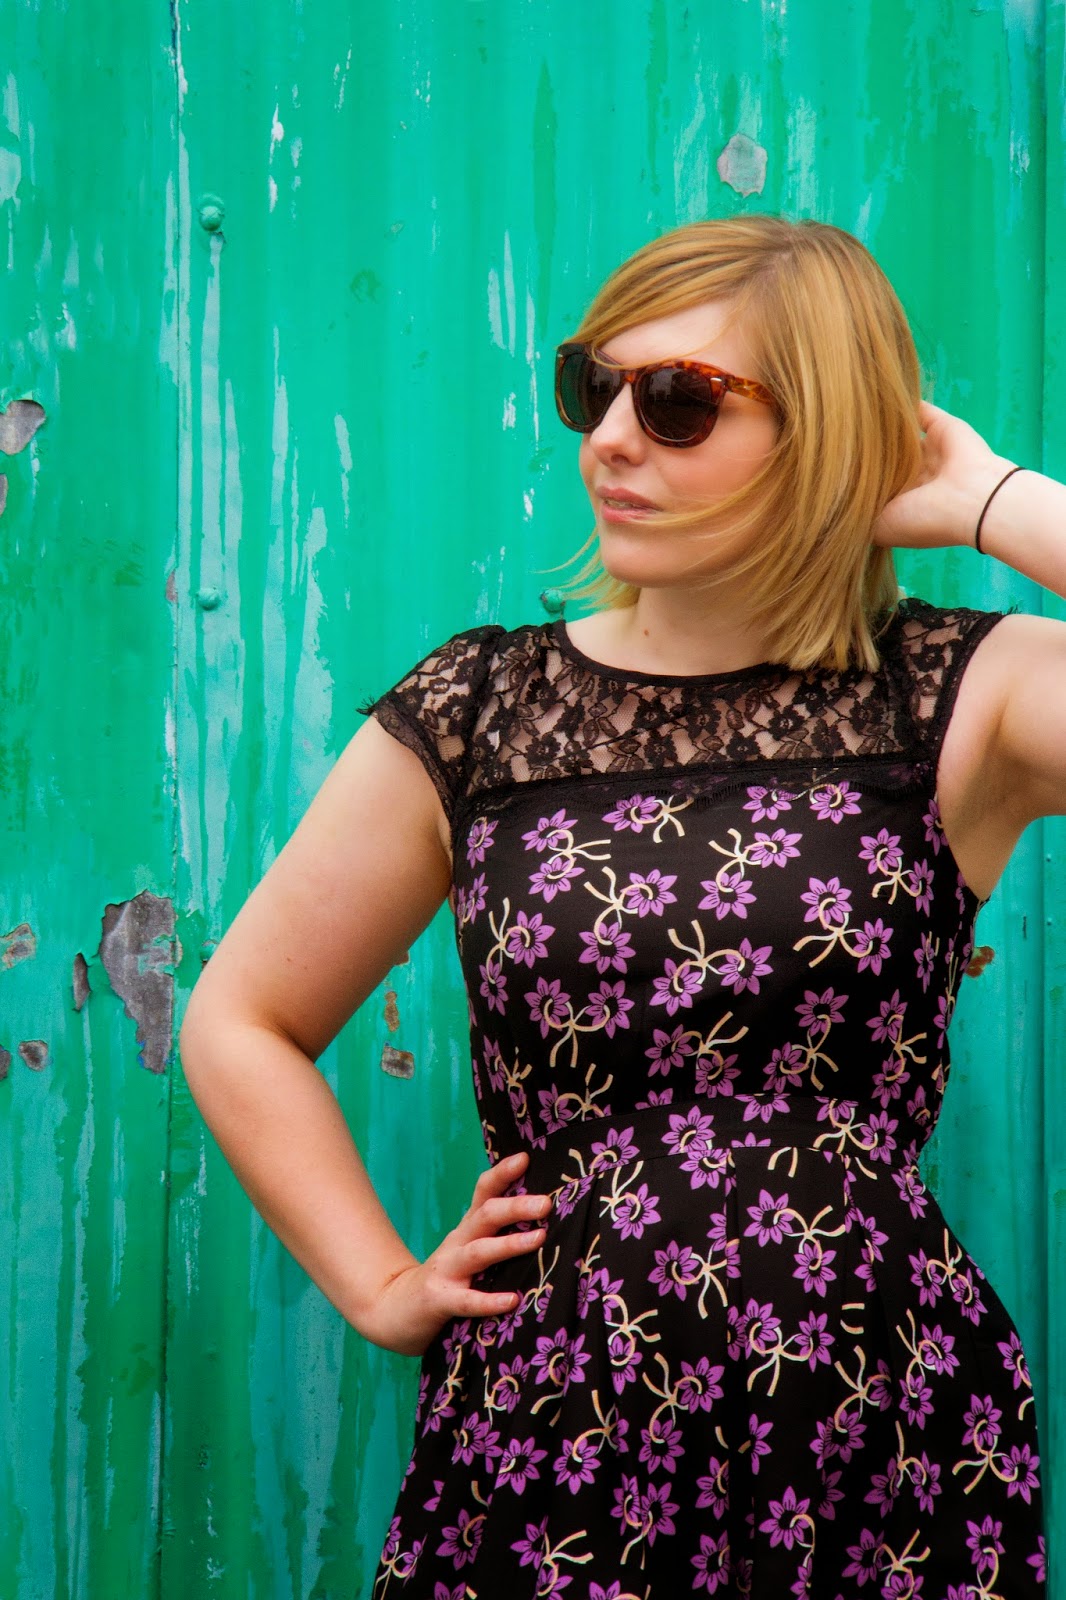
chose a selection of derelict settings to complement Kat’s lacy, vintage dress
and to reflect the fun nature of her sixties style dress, we found some
brightly coloured graffiti images near the fruit market.


This not only produced some lovely images but also took the pressure off Kat as she put her trust in me to find the right moments to shoot.
http://www.rocknrollbride.com/2011/06/how-to-pose-in-your-wedding-photographs-what-to-do-and-what-not-to-do/
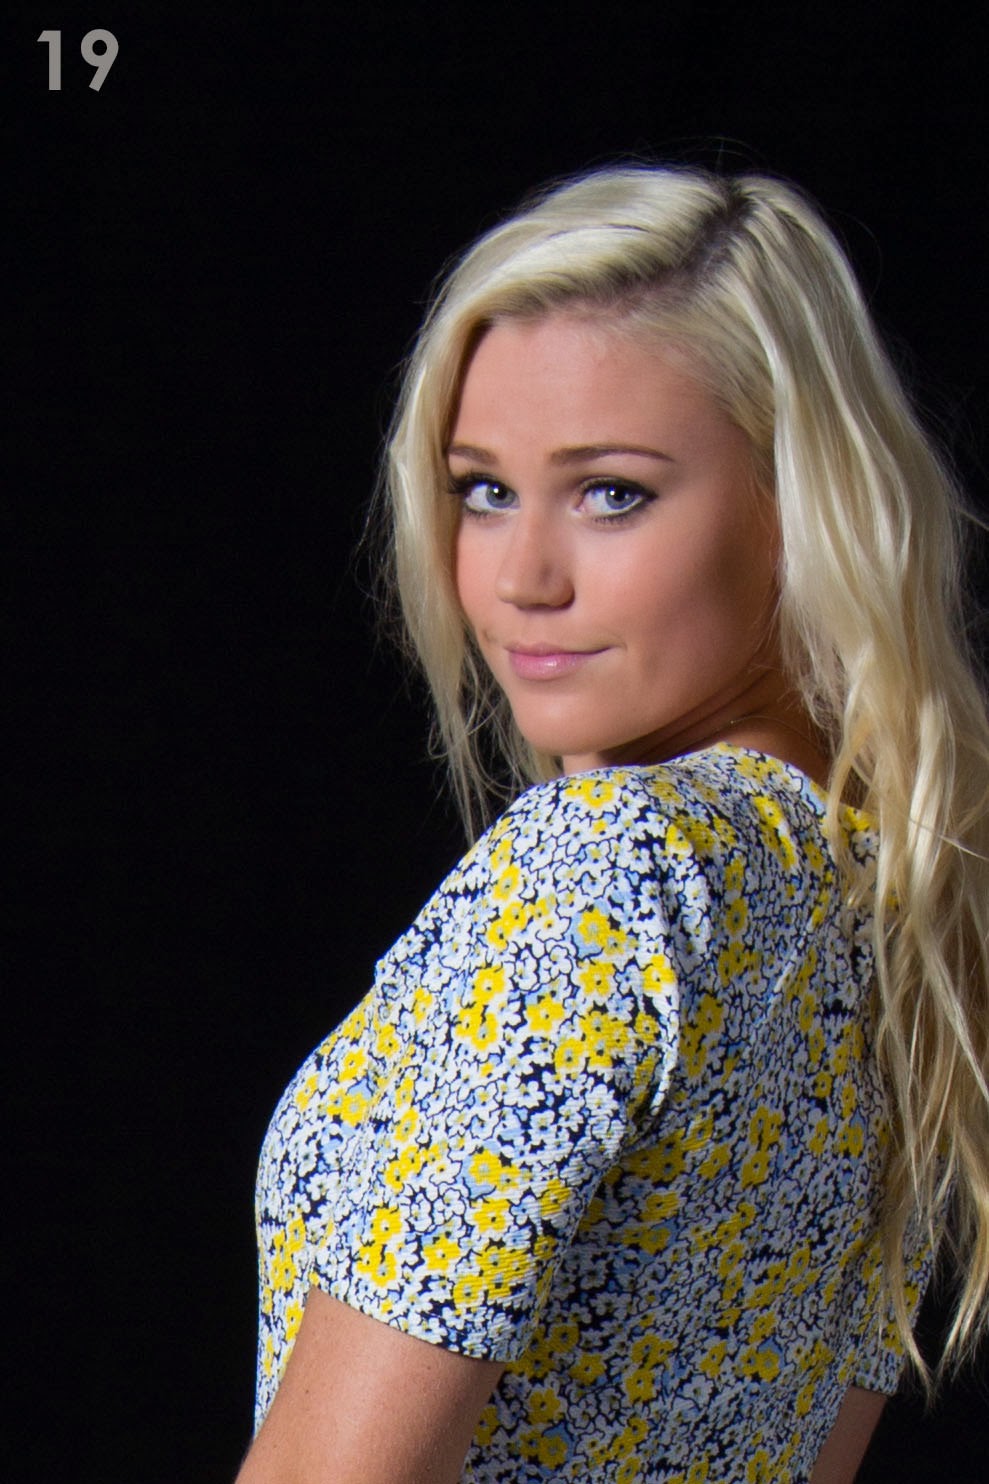
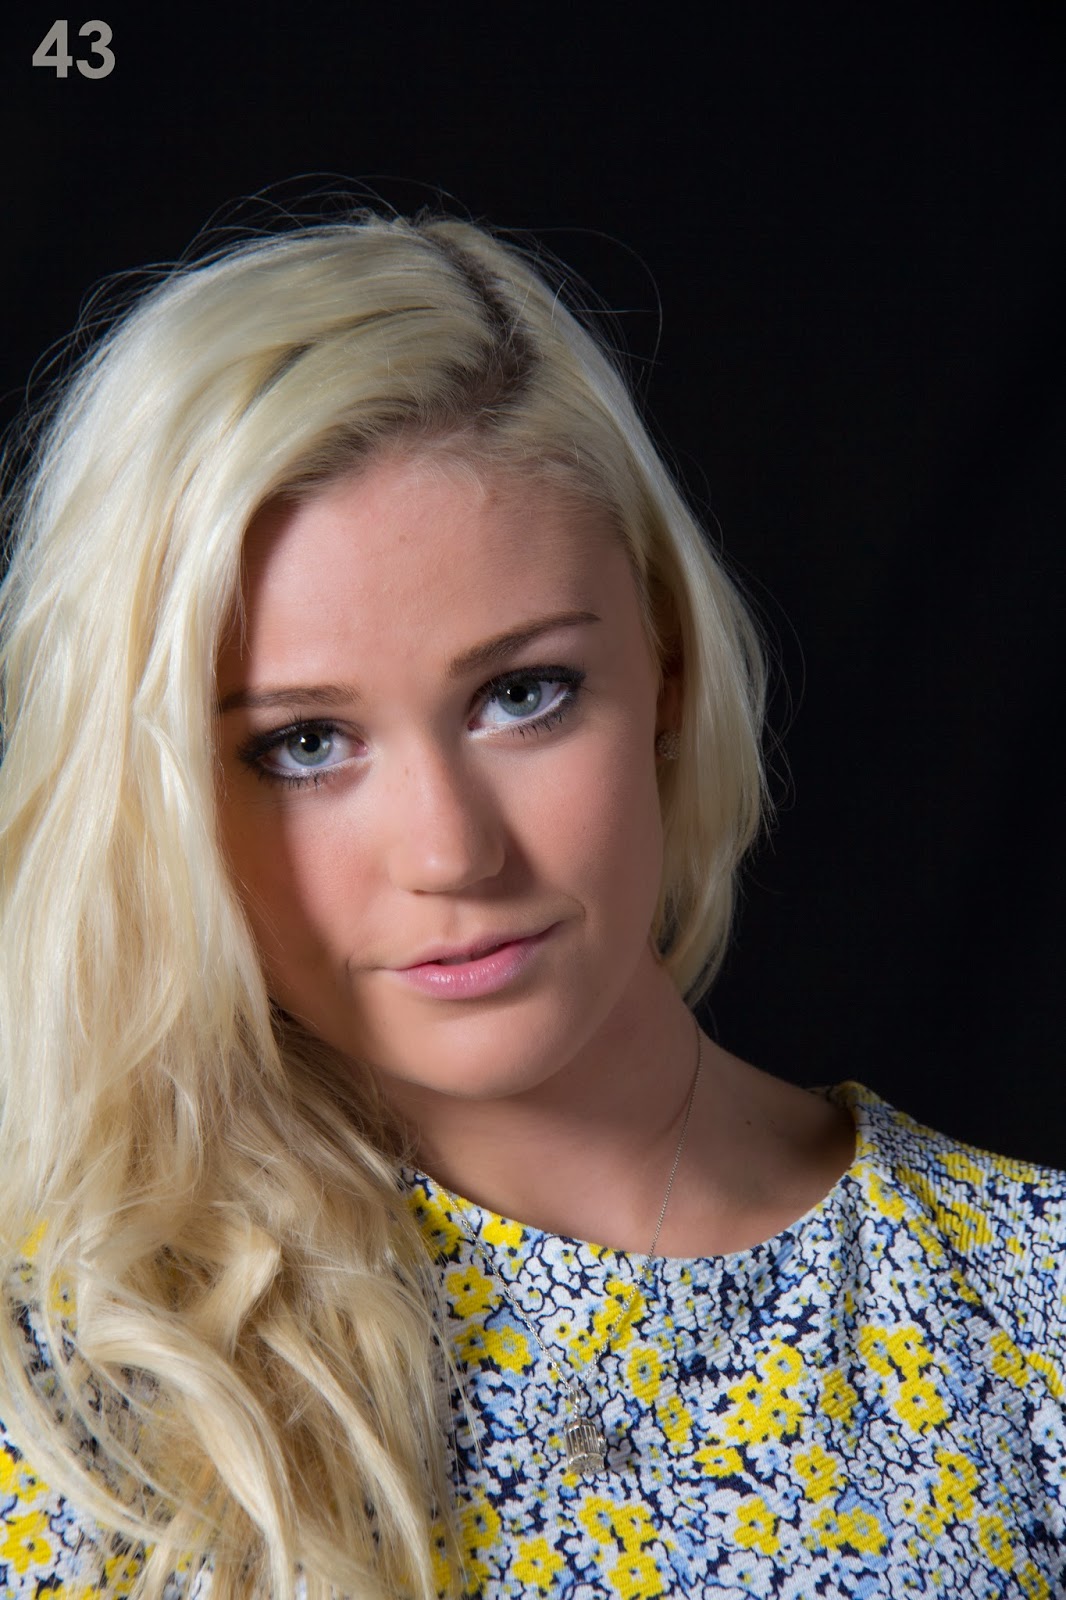
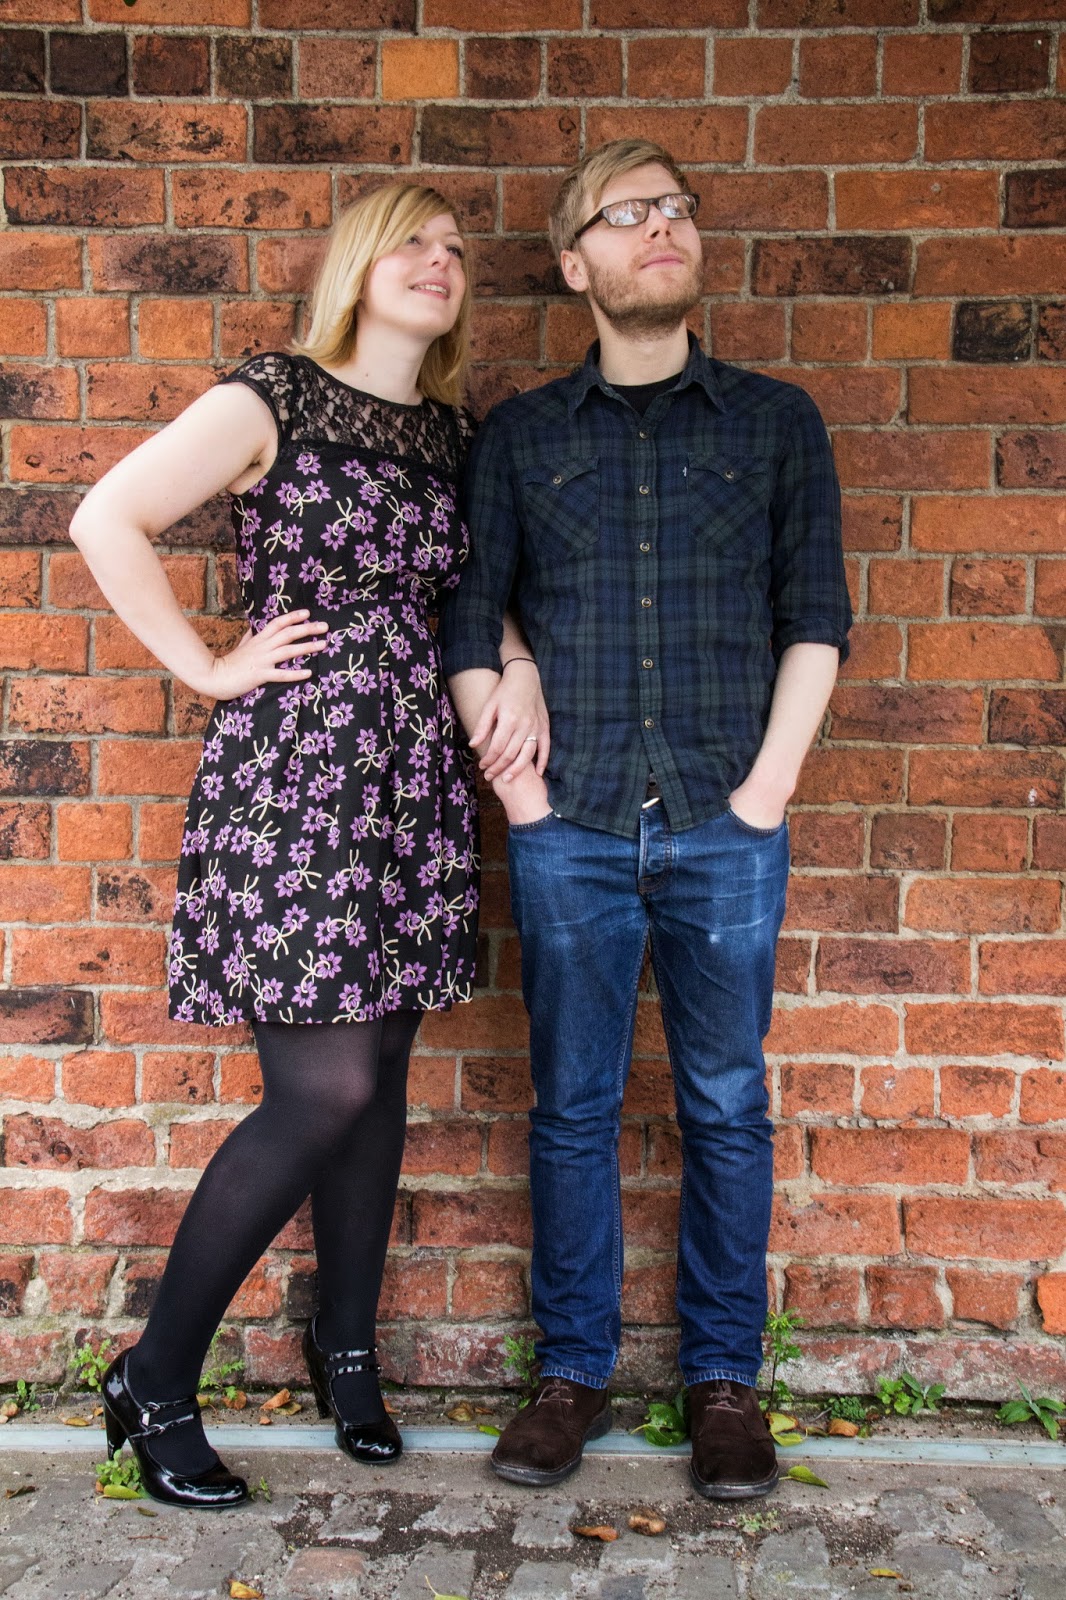
Waist
The slight turn in Kat’s stance gives a
view of her waist at its smallest, an enhancement many women would appreciate.
Chris, on the other hand is facing straight on; a broad physique is more
socially acceptable in men.

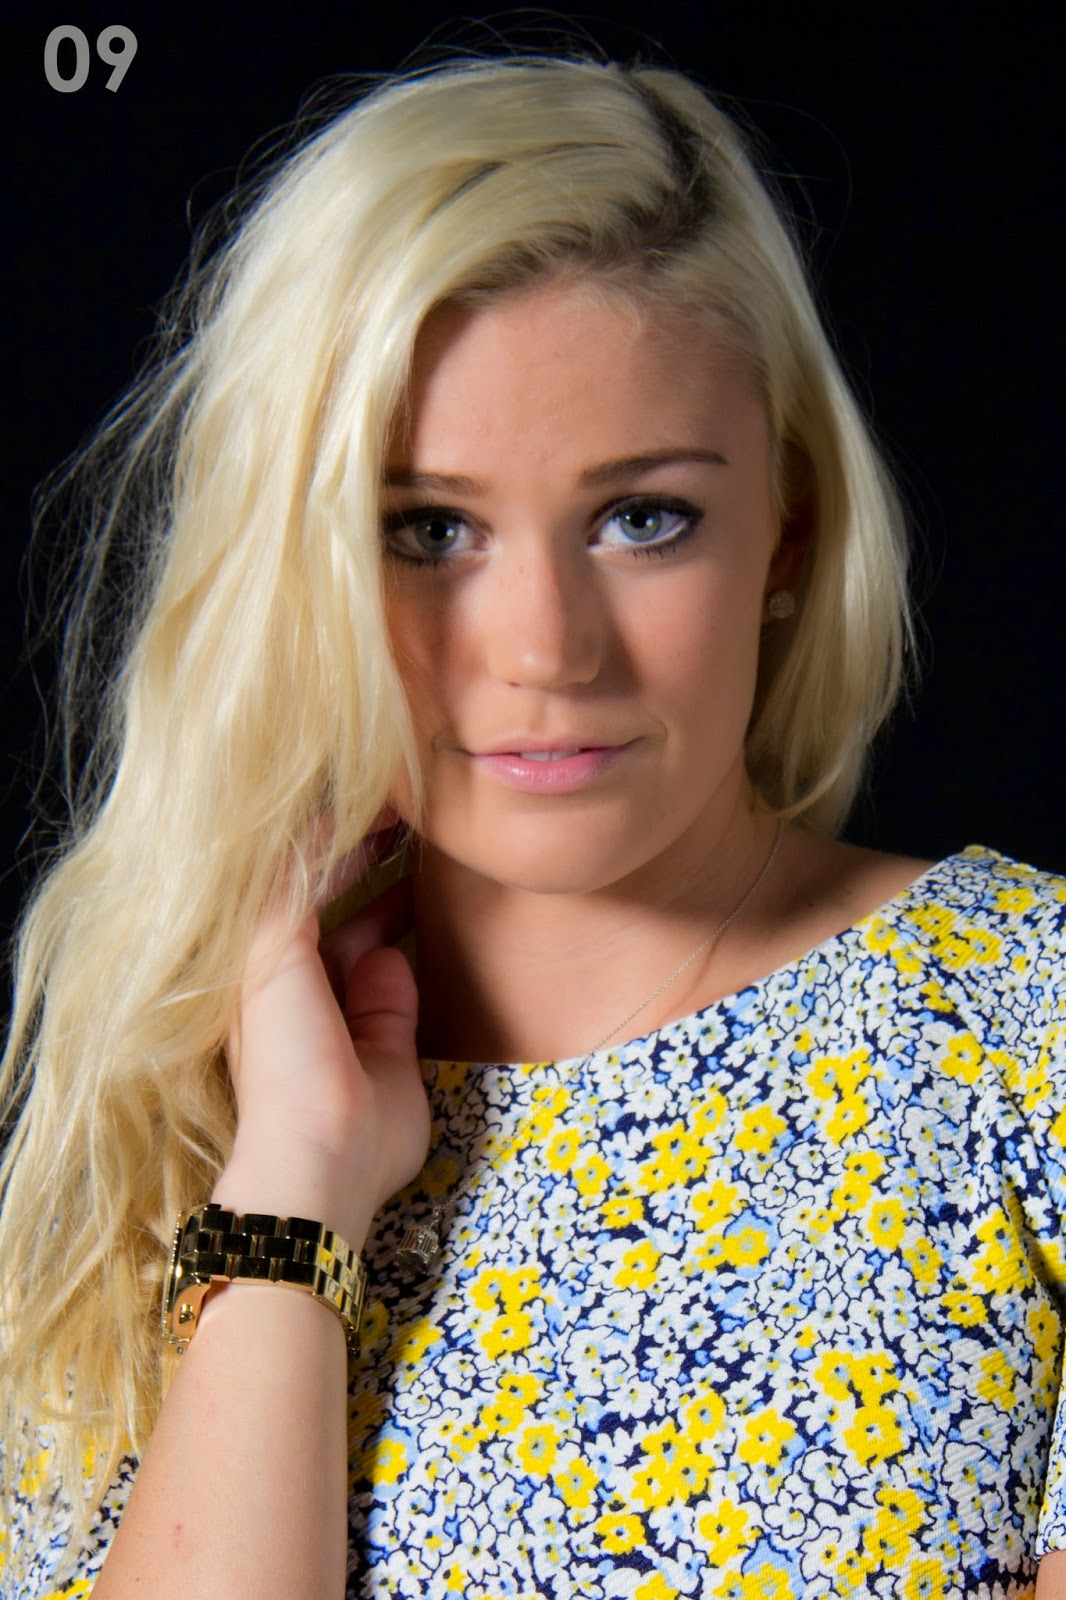
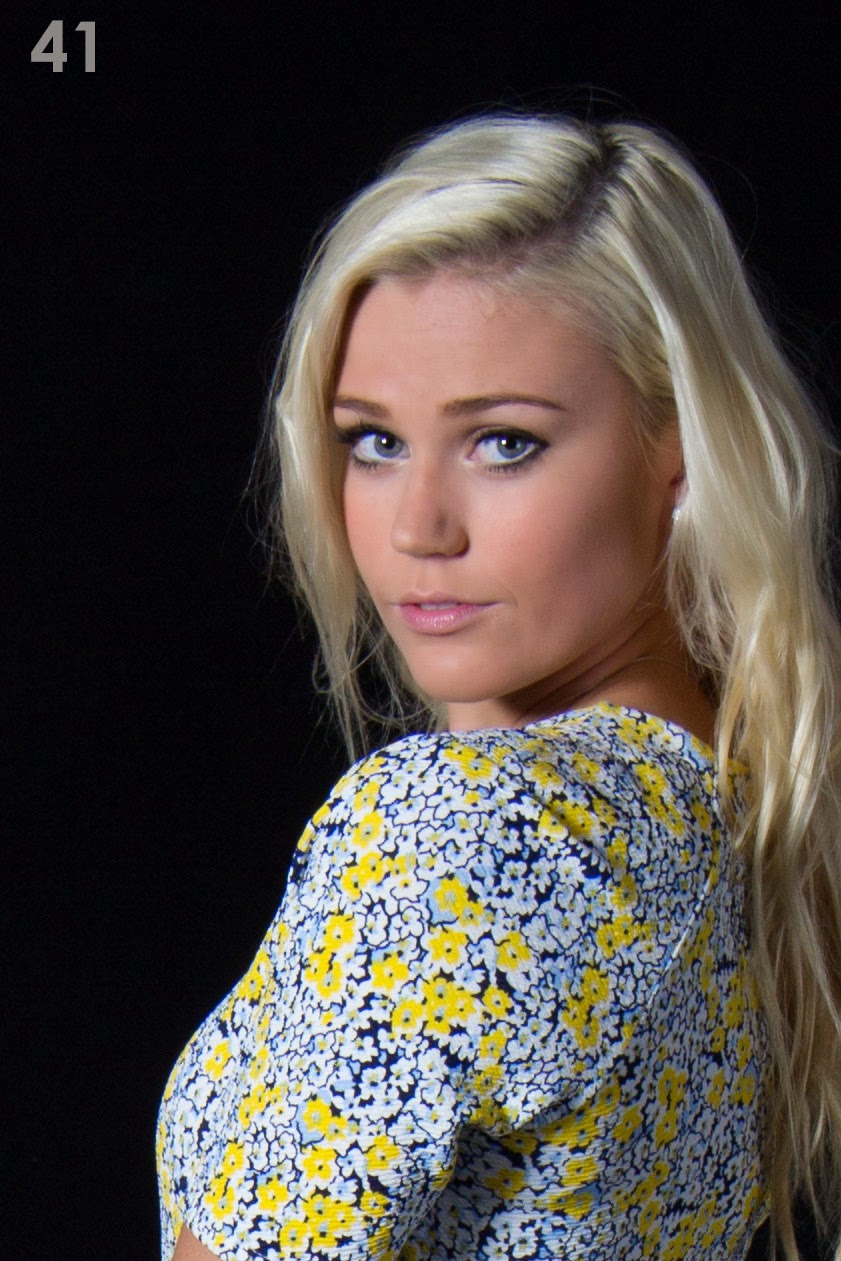
Hands
When shooting portraits, I find people
have the most difficulty knowing what to do with their hands; they are the
first things to stiffen up and appear tense. In this image, Kat has one hand on
her hip with loose fingers giving a chilled out feel. The other hand, sweeping
her hair adds some movement to the image, while helping Kat to feel more
relaxed; this feeling projects into the resulting shot.

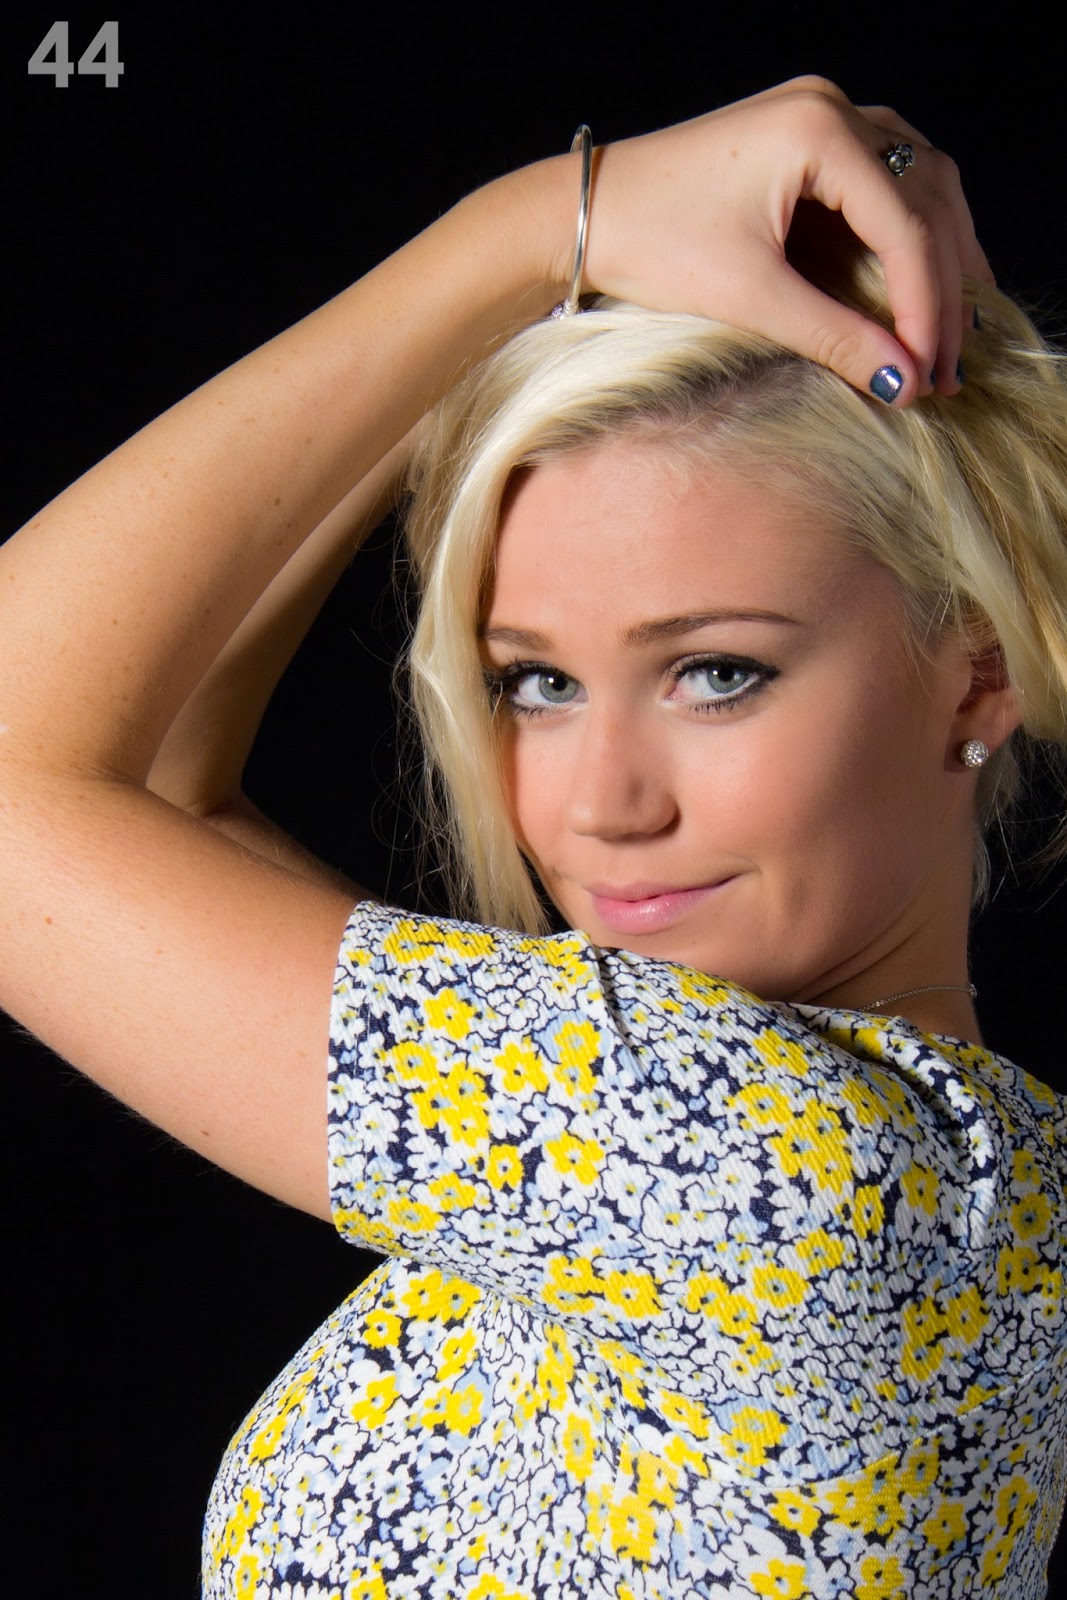
Hips
The idea with this shot was to follow
Williams’ advice of thrusting the hips back away from the camera. This has the
effect of making them appear smaller due to perspective. This hasn’t worked
quite as well as hoped; A more front on stance with the hips bend back towards
the wall would have been more successful.

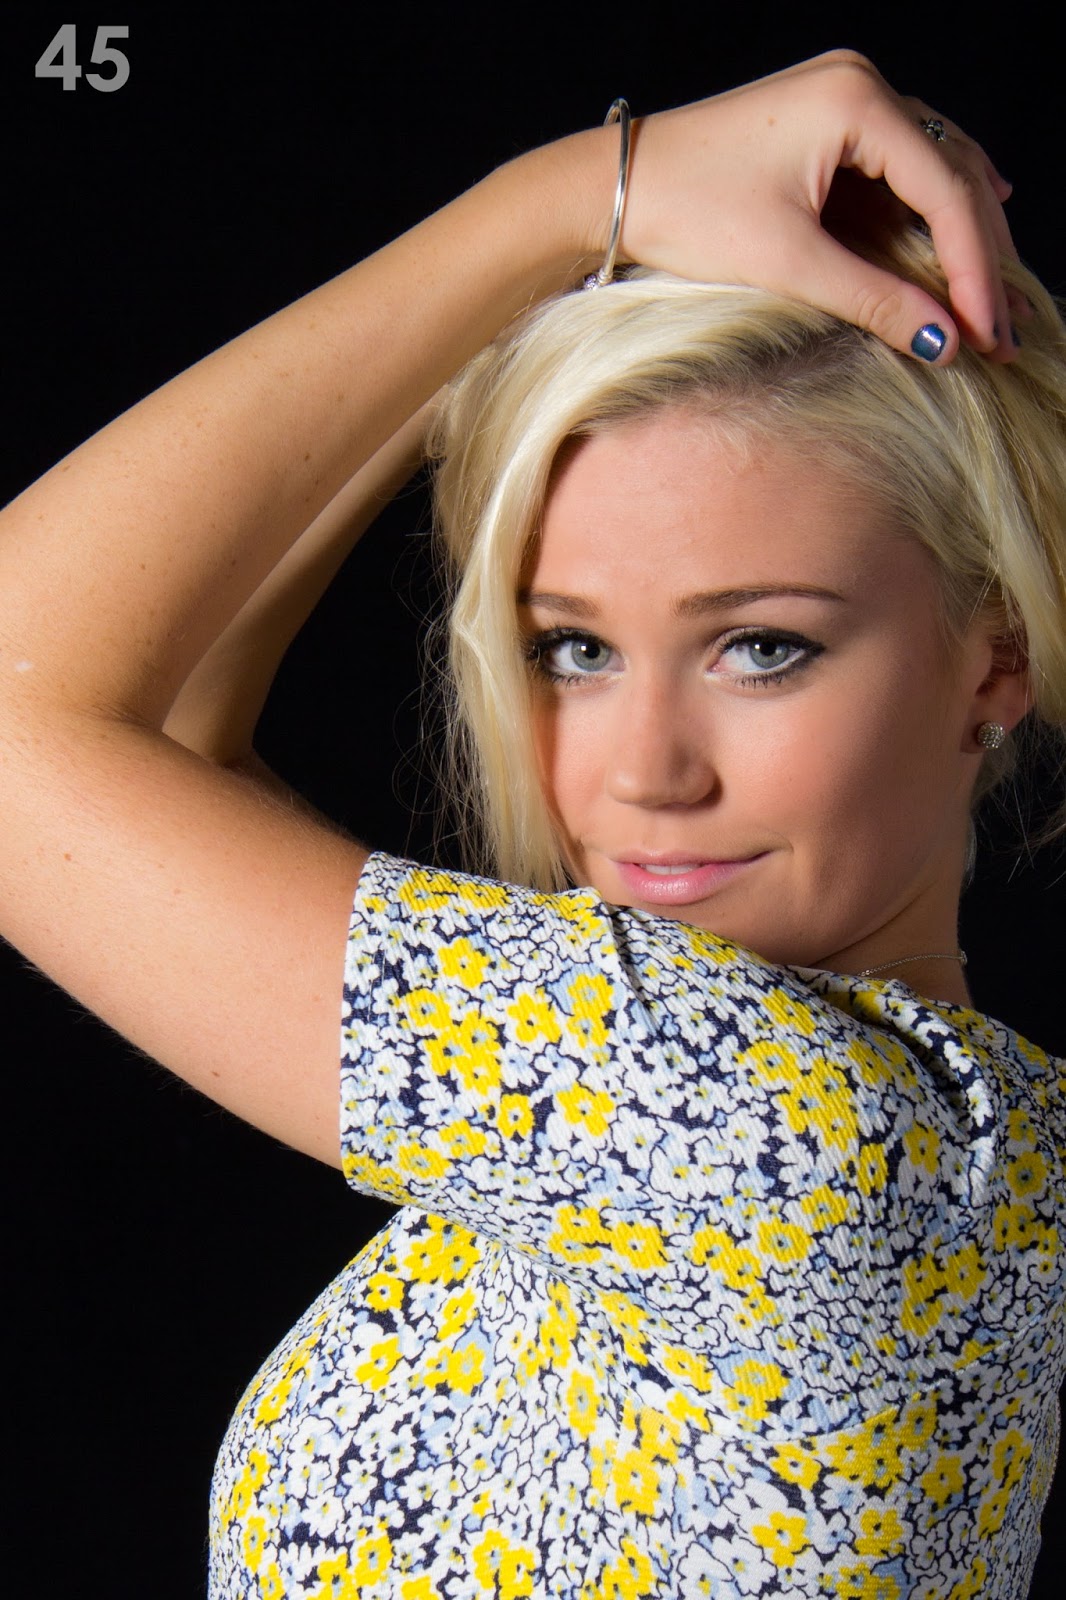
Arms
Kat’s pose in this shot makes the most of
her arms; the placement away from the body prevents them from puffing out and
makes them appear more toned. The high contrast lighting highlights the curves
of the arm, promoting their toned appearance.

Legs
Williams’ advice for legs is to point the
toes, bend the legs and create angles. Similar to the arms, bending the legs
slightly flexes muscles, making them appear more toned and shapely. This was
one of the earlier images in the shoot; Chris was yet to relax, however I was
really pleased with how Kat followed tips from our research from the off.

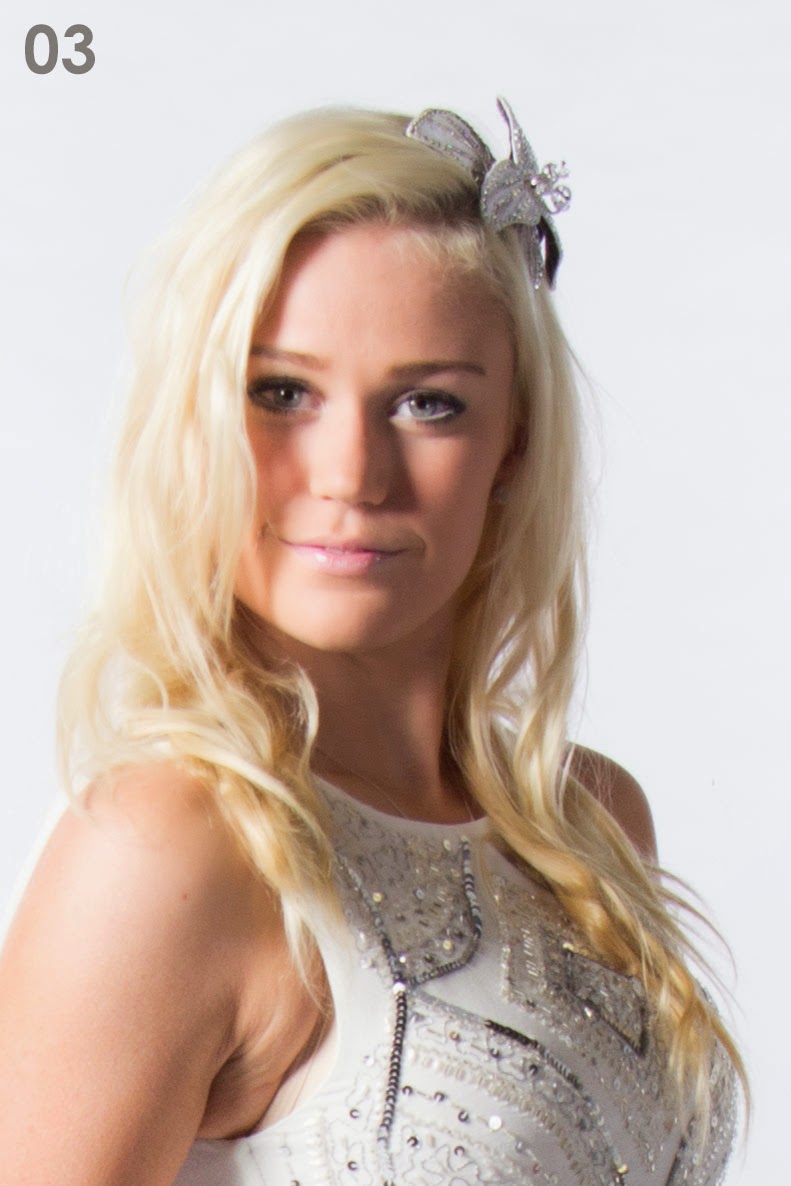
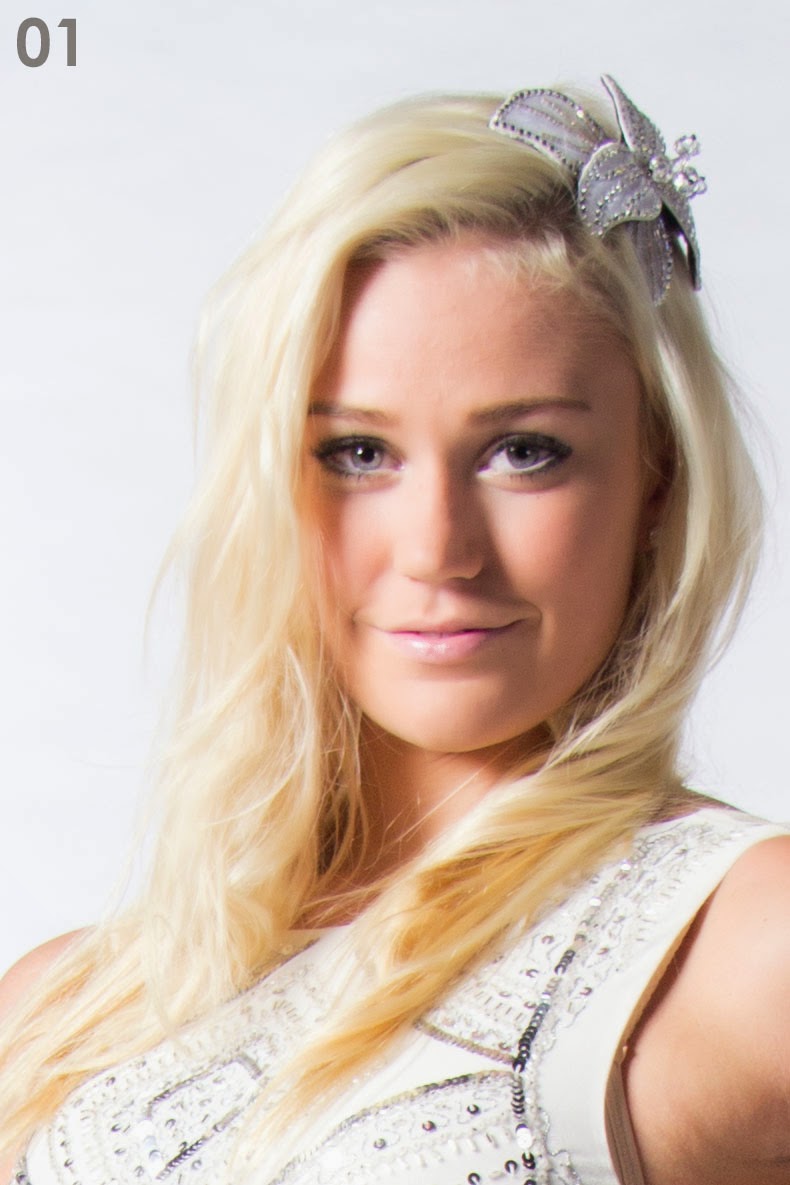
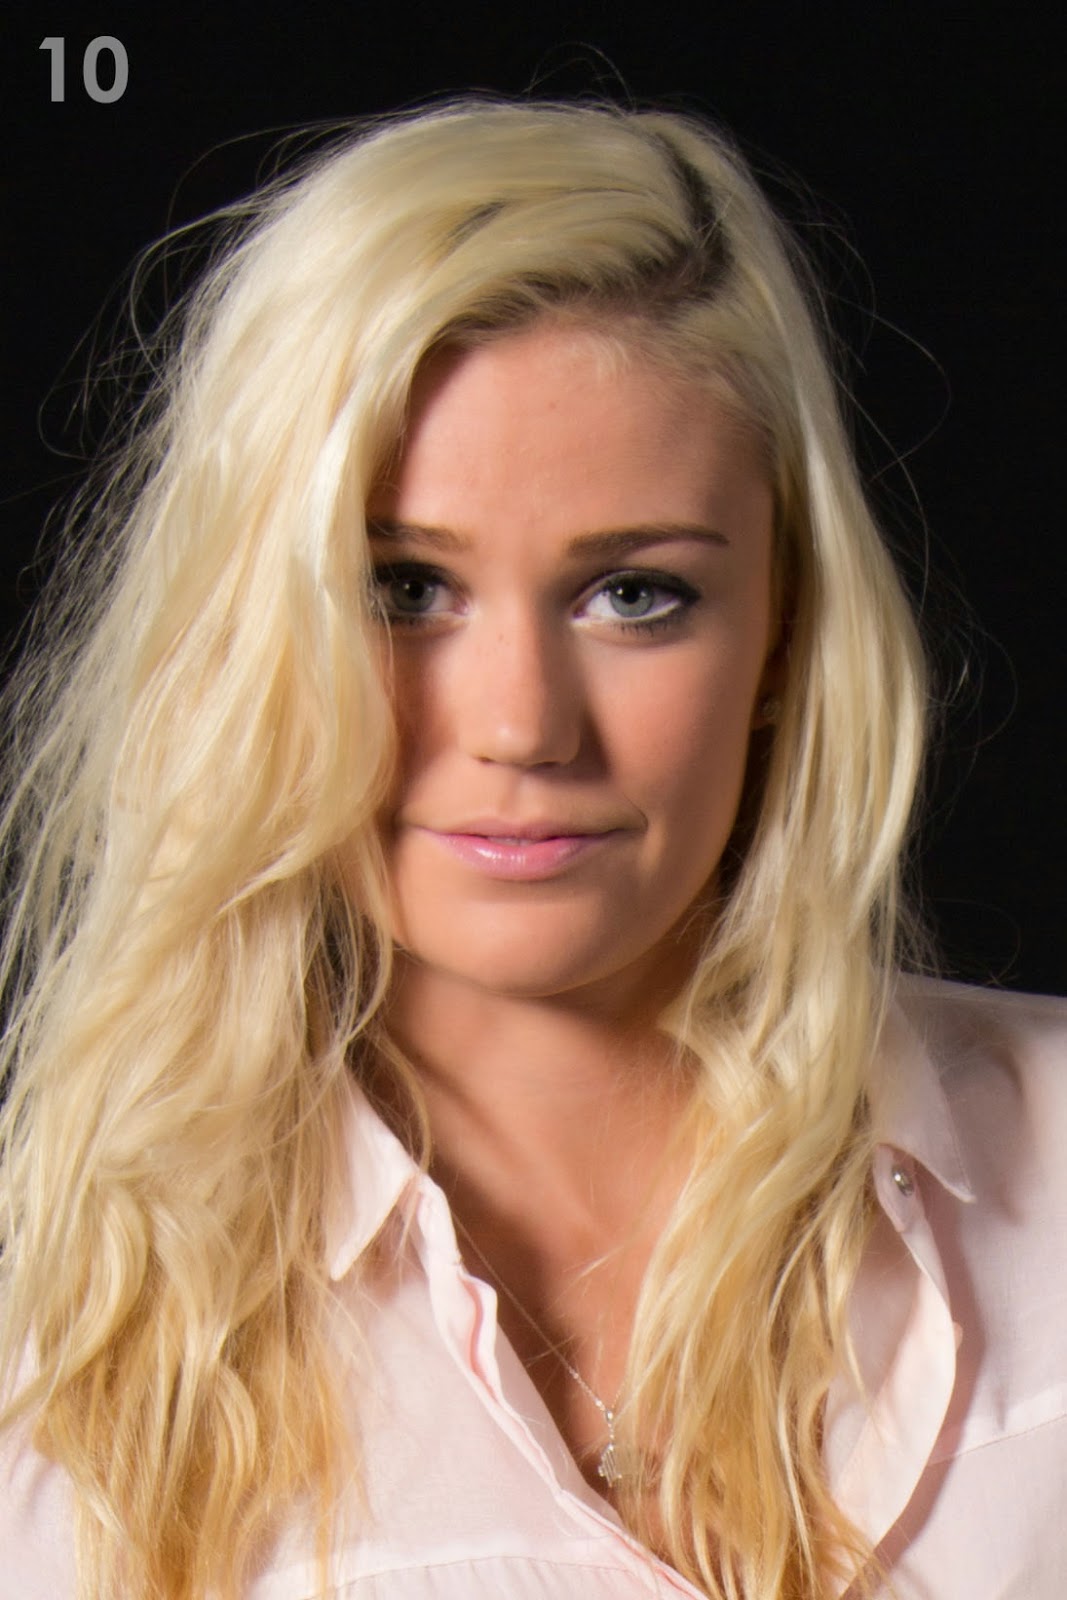
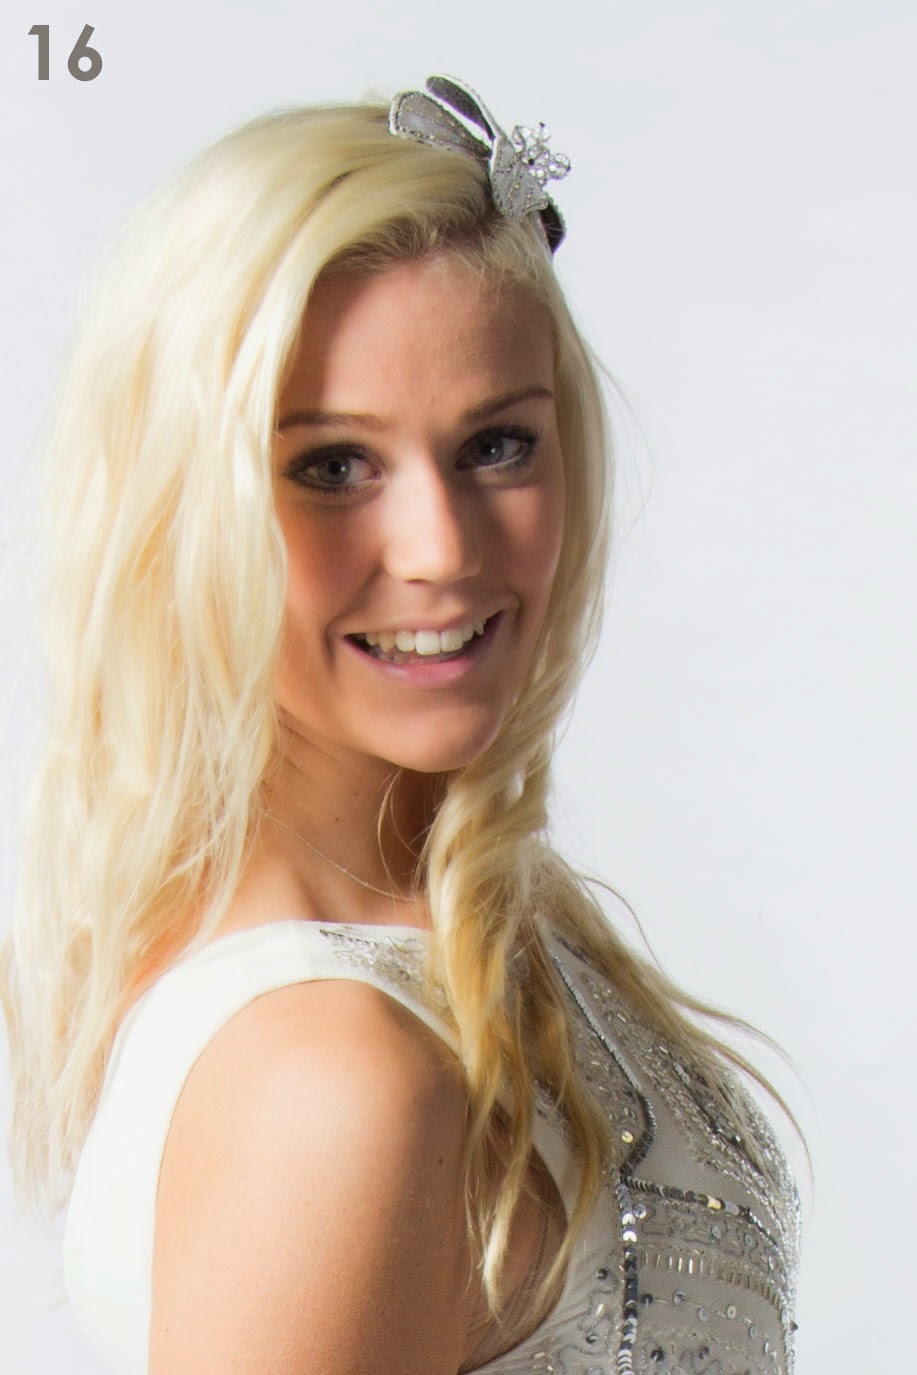
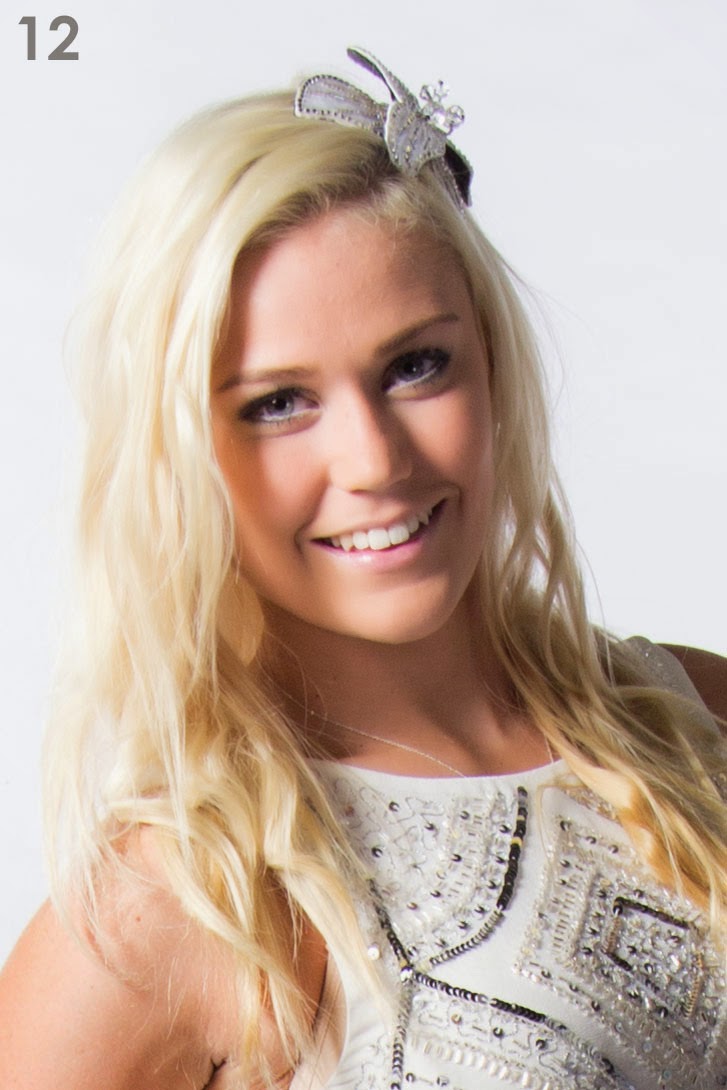
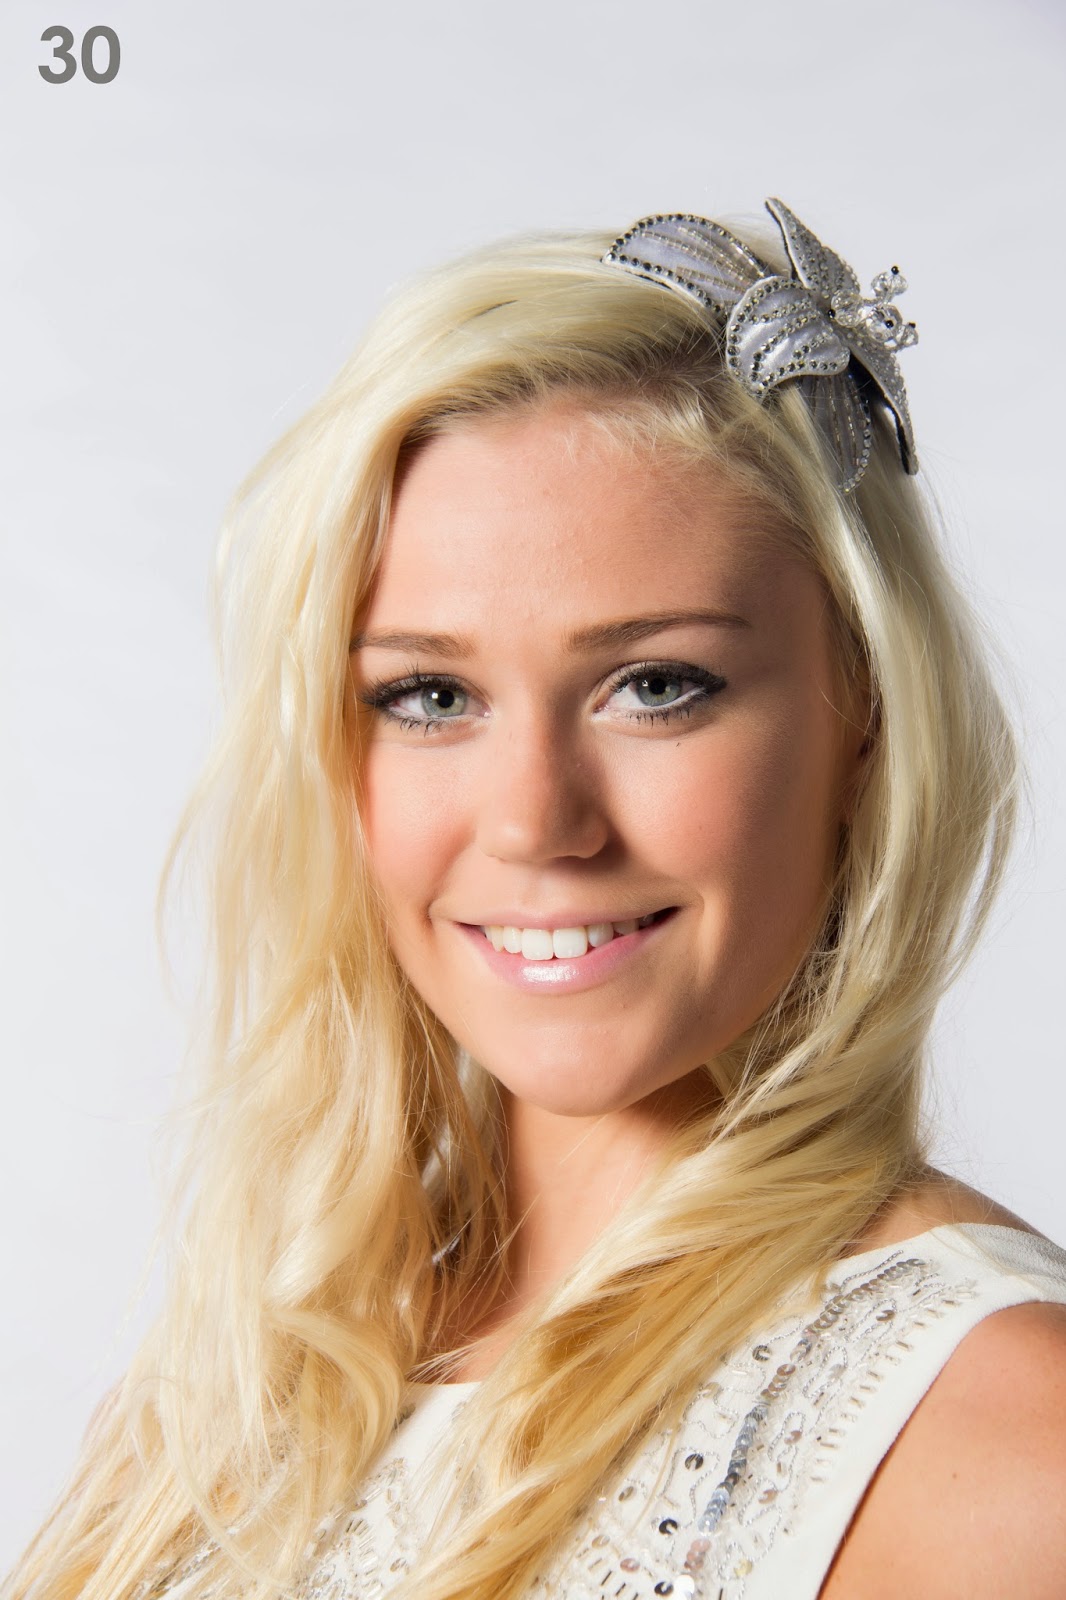
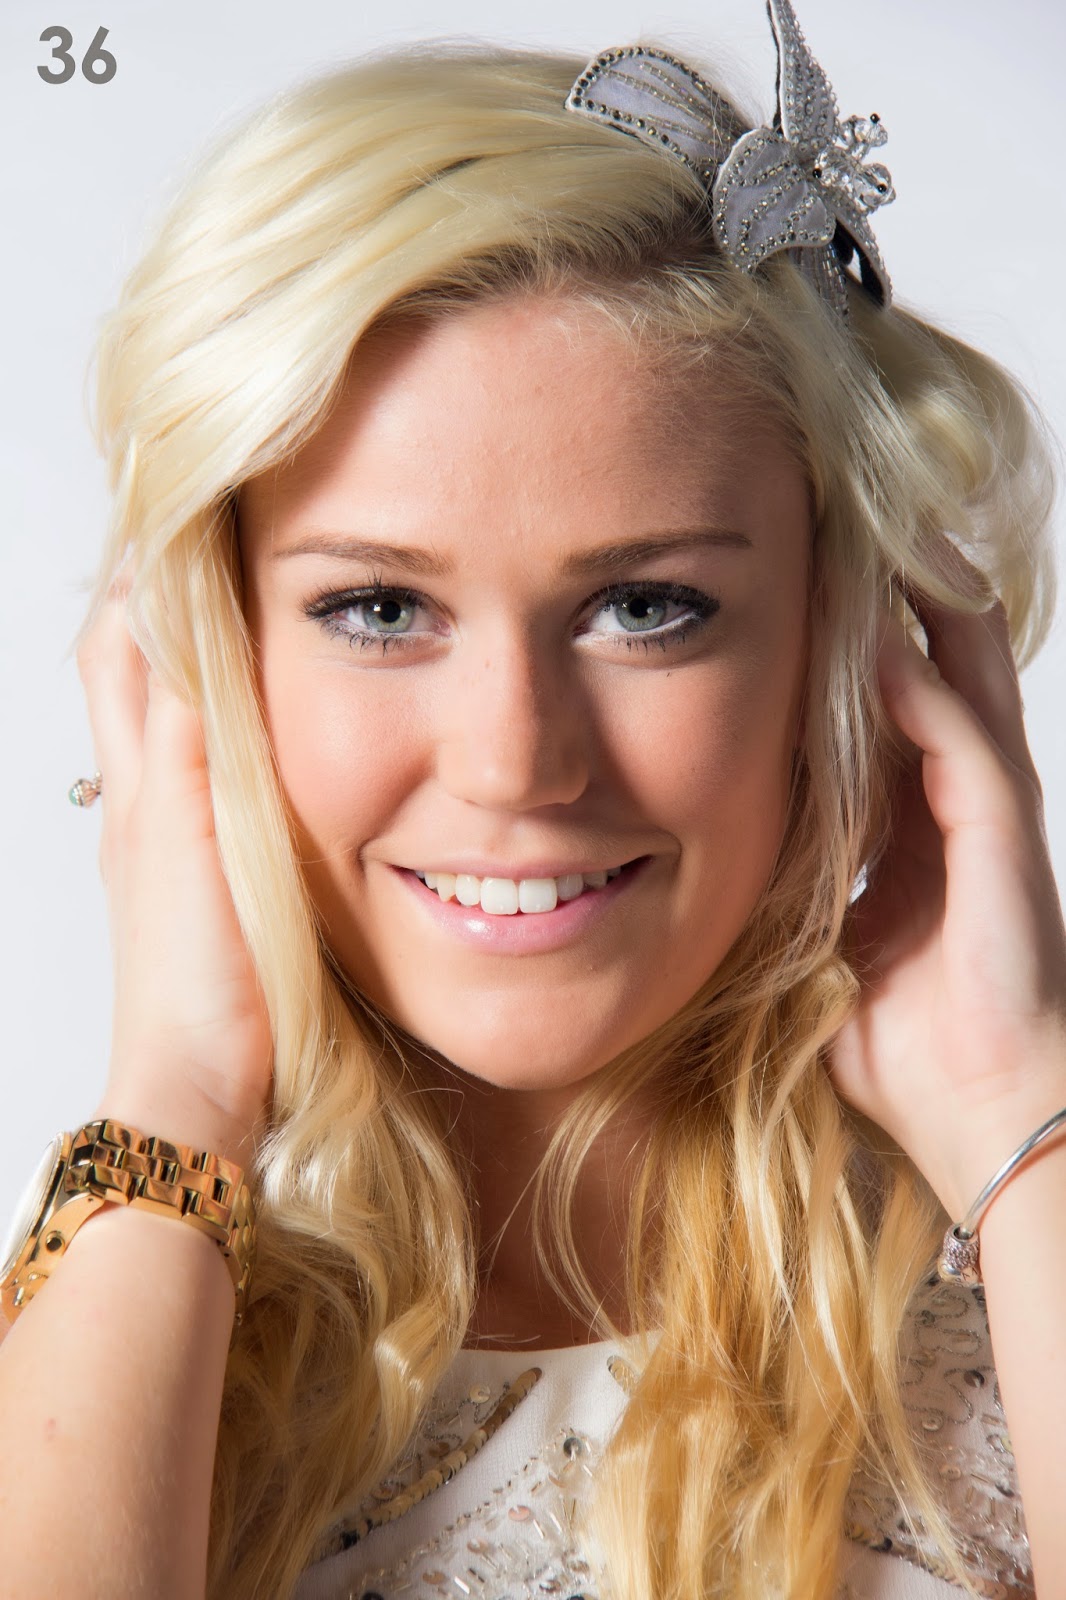
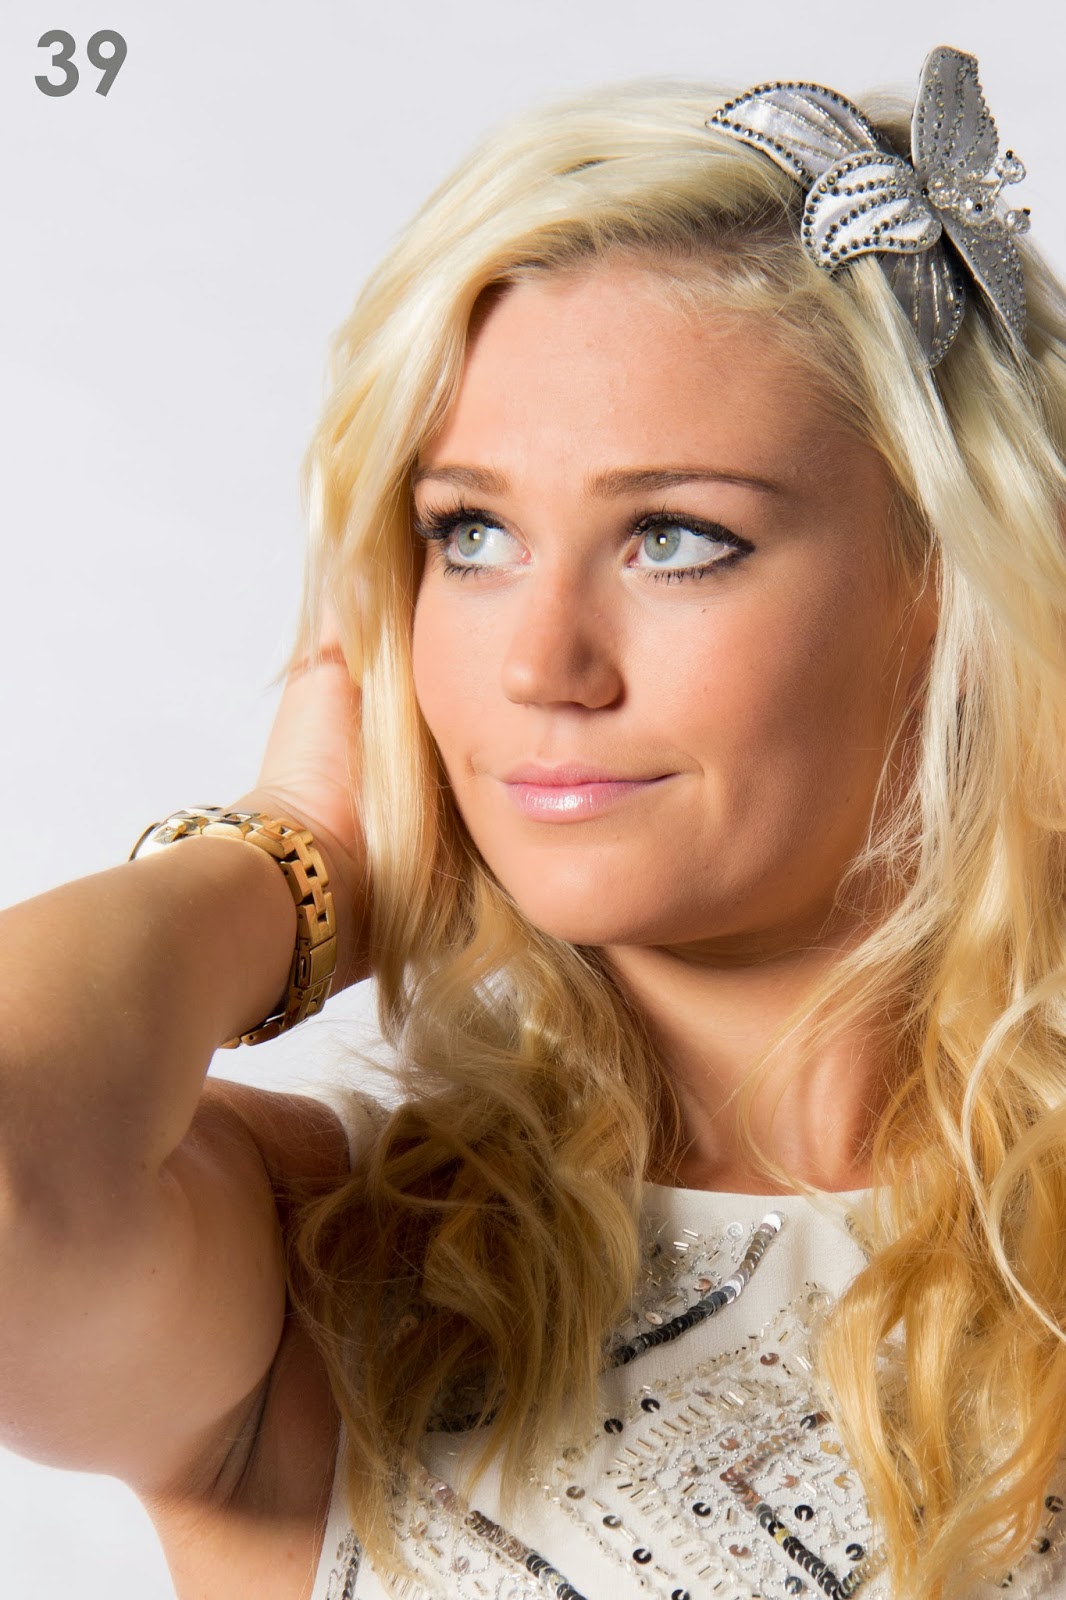
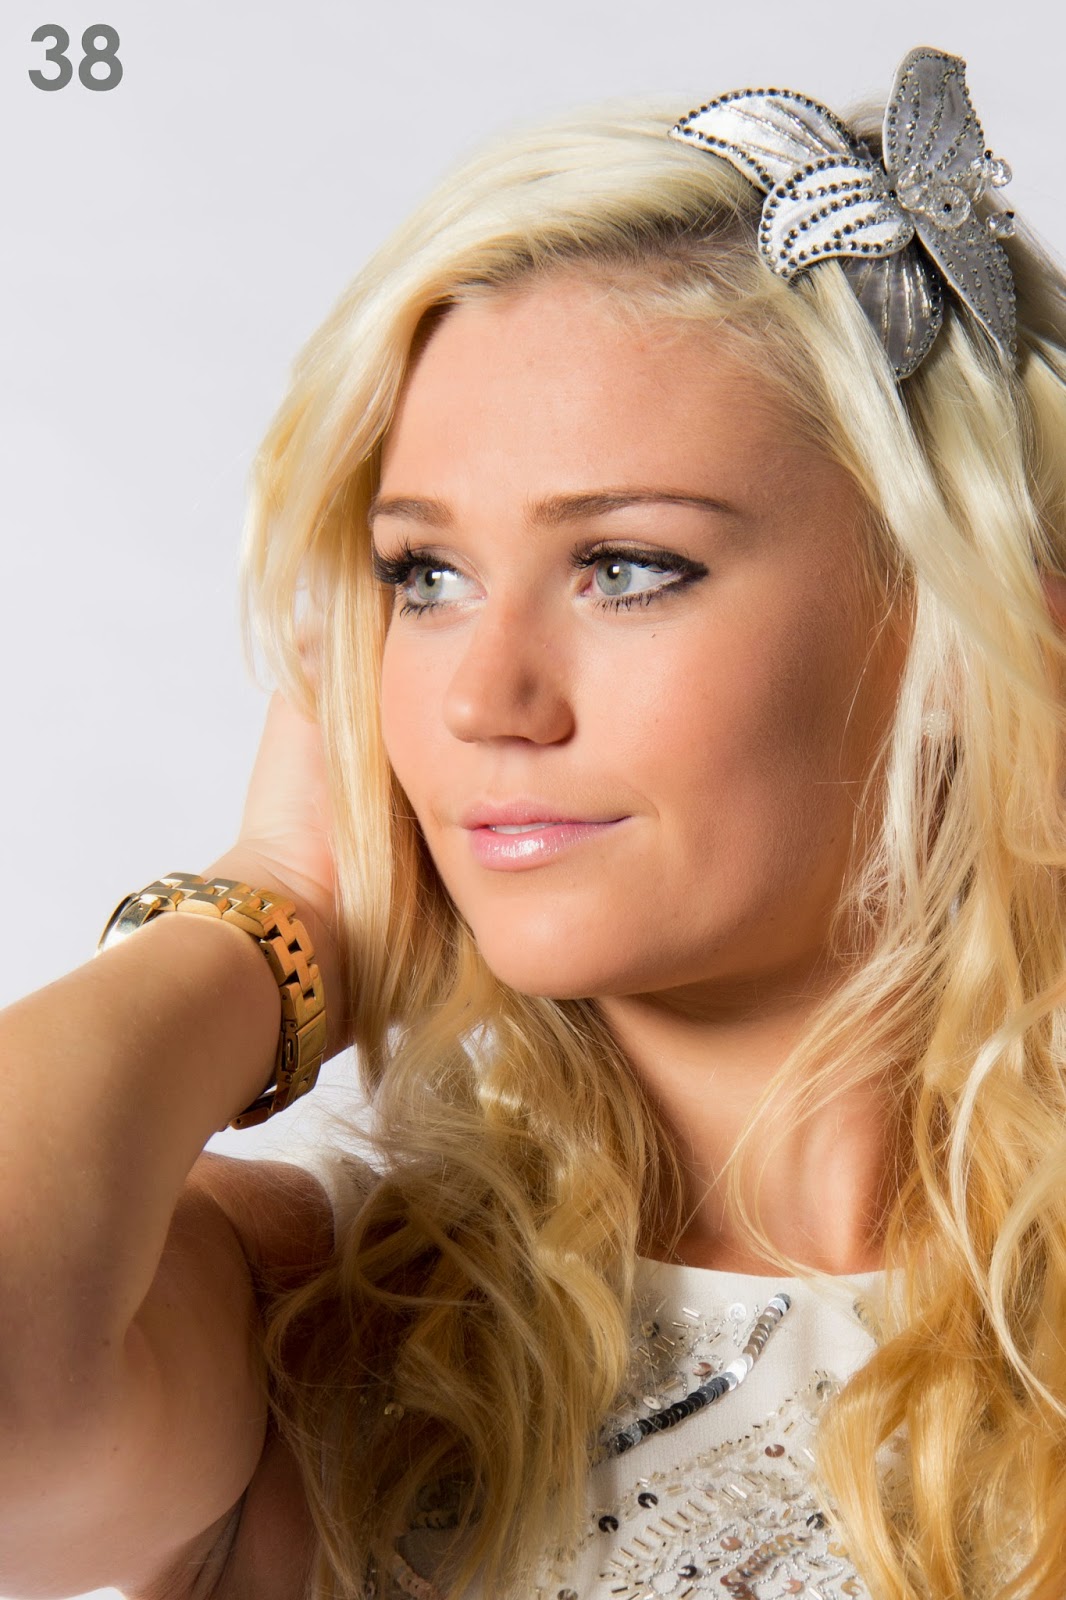
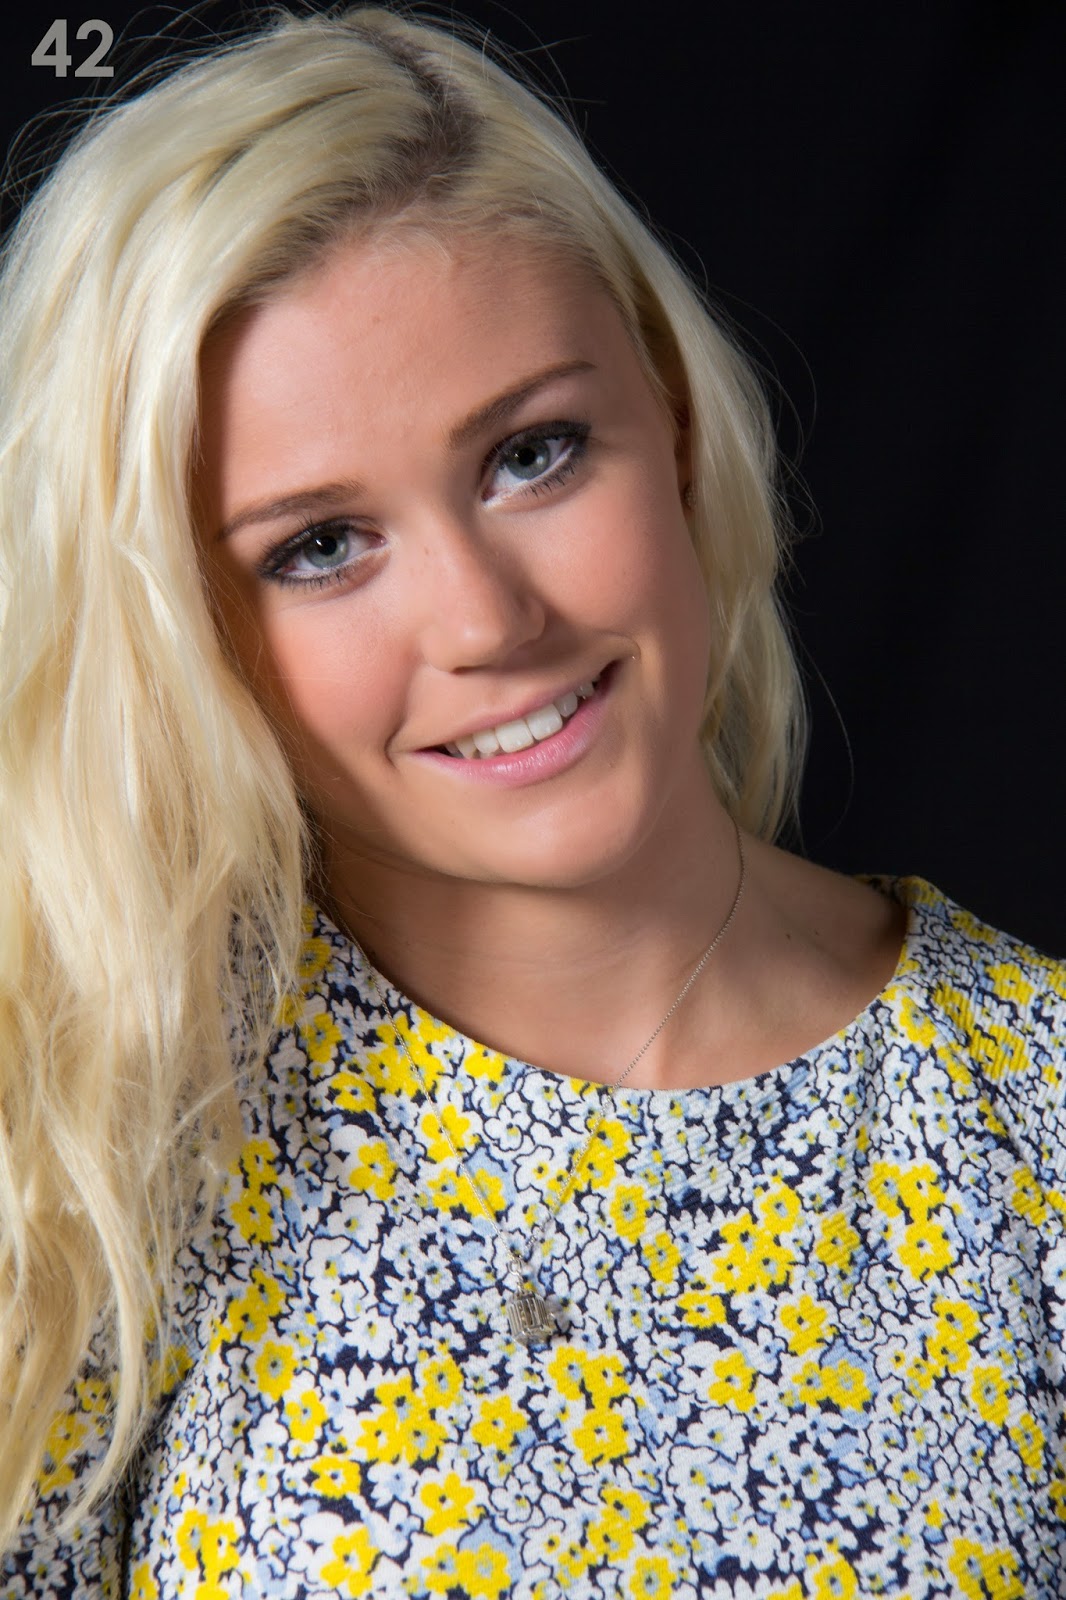
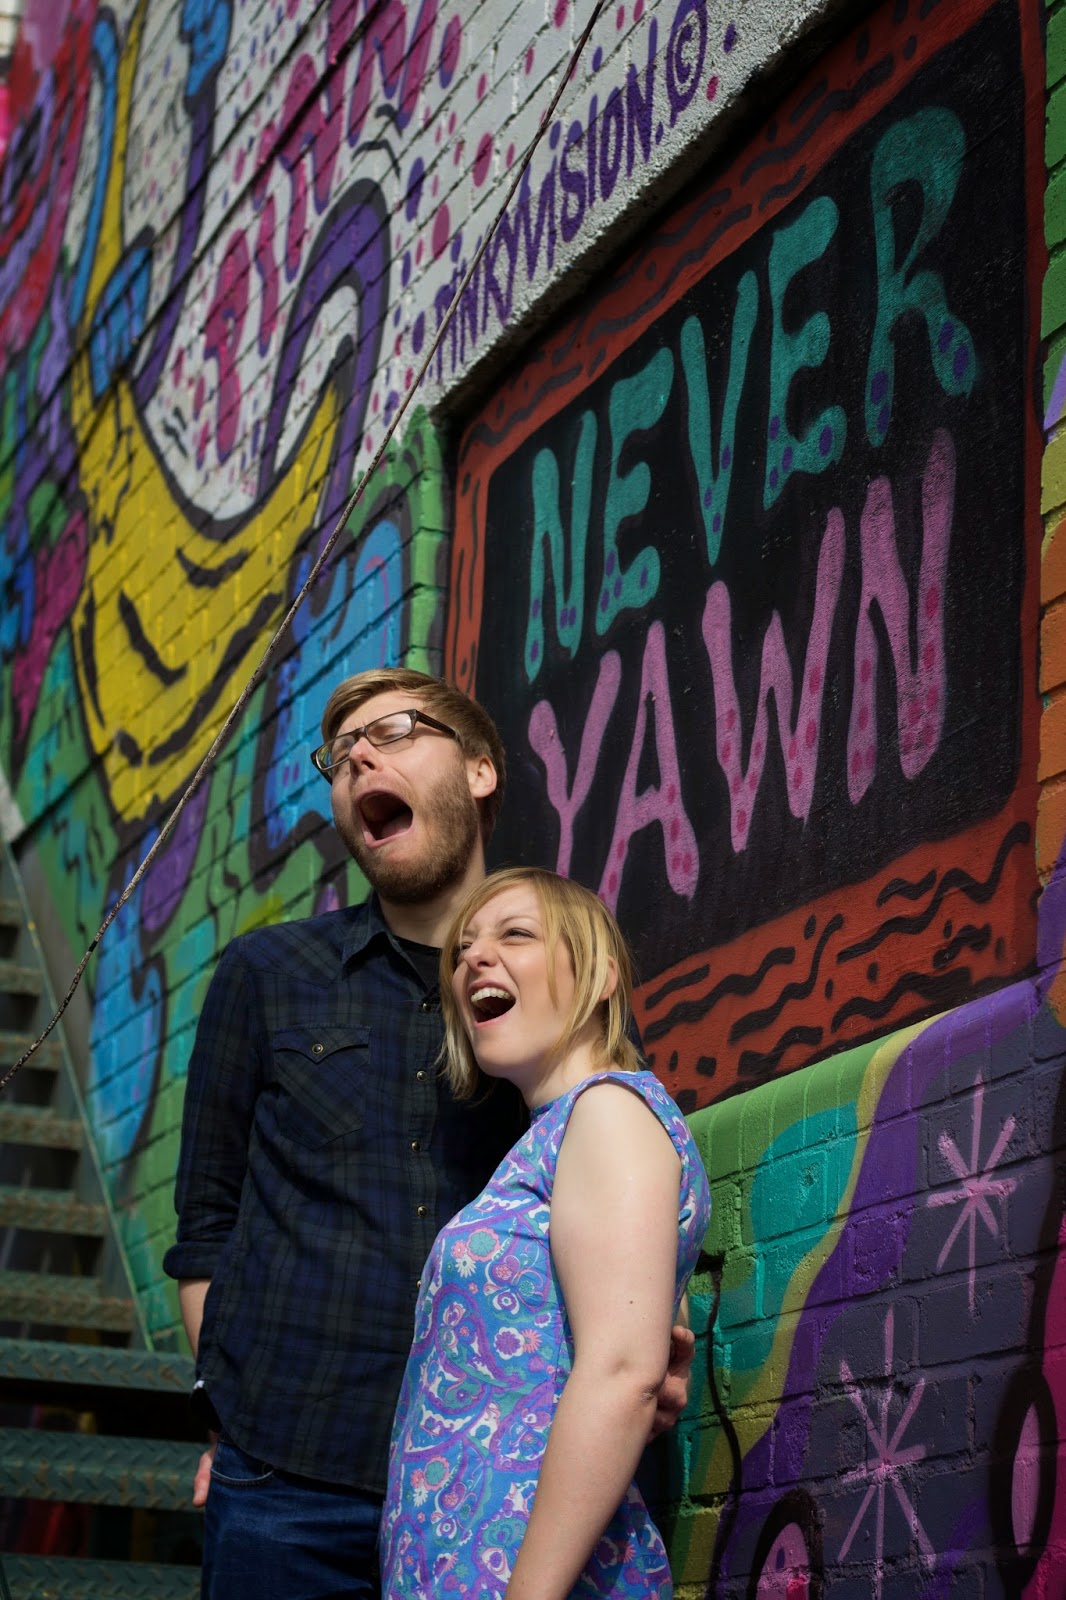
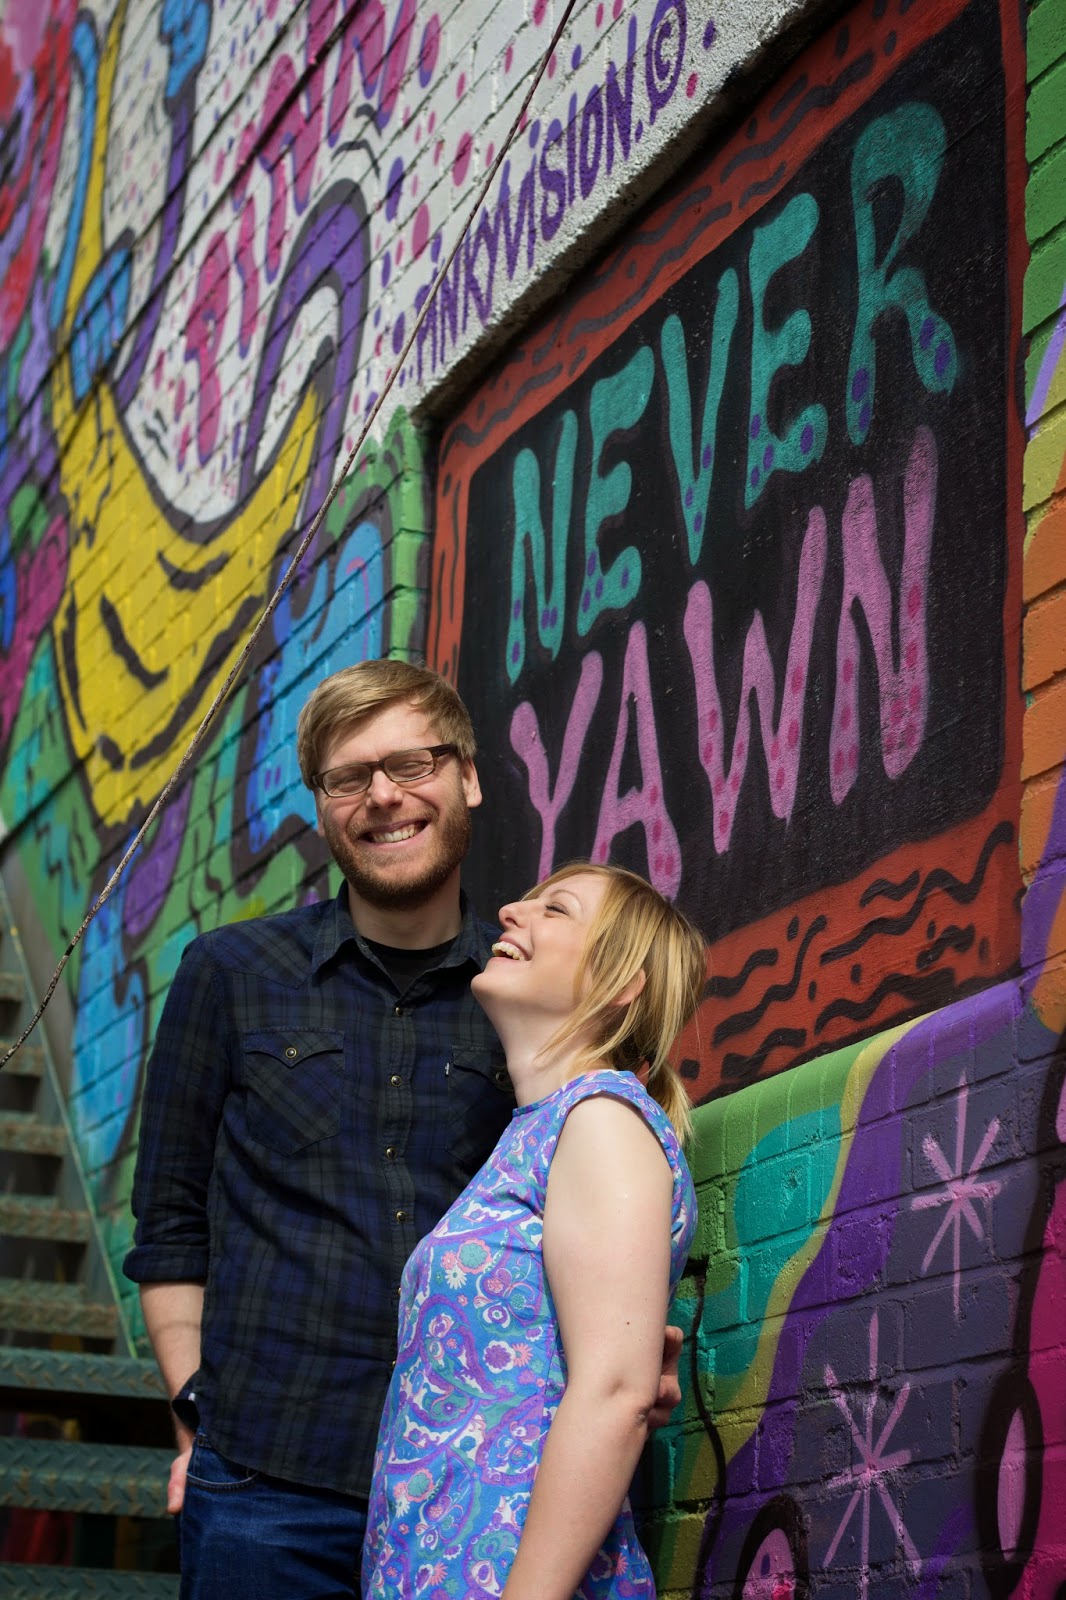
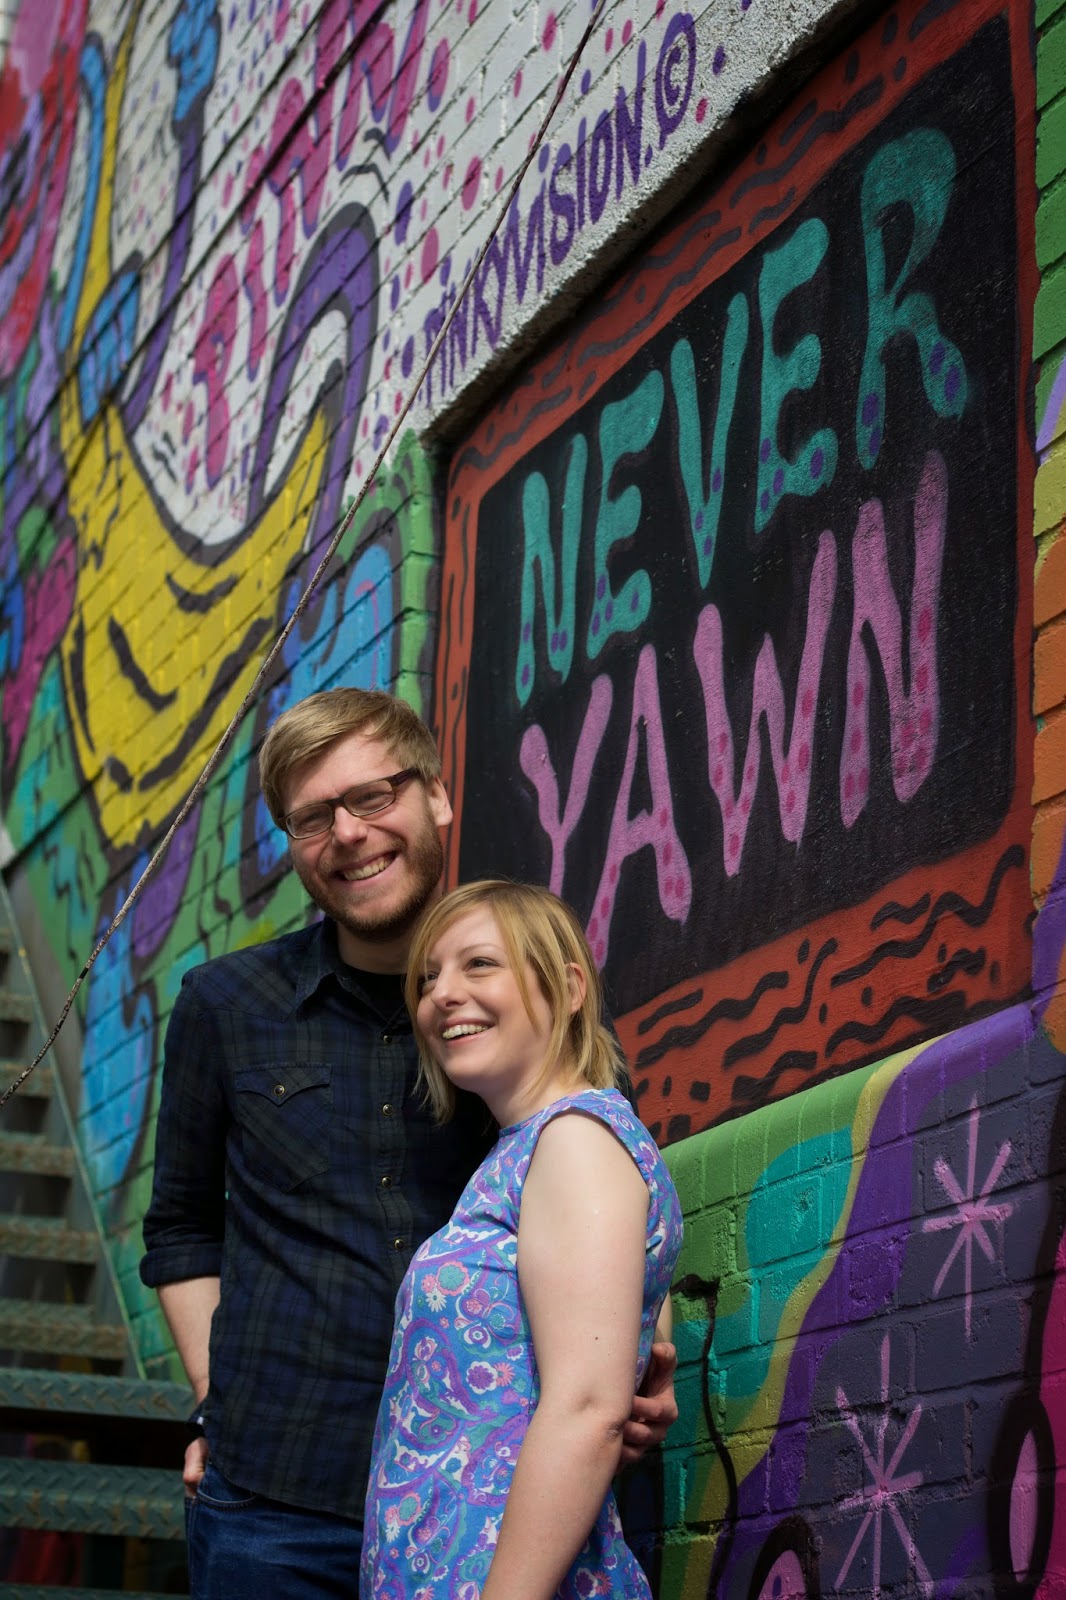
Smile
A natural smile is so important but can be
difficult to pull off with a nervous model. Kat had asked early on in the shoot
how to make her smile appear natural; I told her that this would happen as we
relaxed into the shoot. The set below shows a trick I pulled to evoke a
natural reaction in the couple. Placing them in front of some graffiti, which
said ‘never yawn’; I asked them to yawn to fit with the text. To my delight,
they followed my request and then burst into fits of laughter. I continued
snapping away and then turned to Kat and said, ‘and that’s how you get a natural
smile’.


This not only produced some lovely images but also took the pressure off Kat as she put her trust in me to find the right moments to shoot.
http://www.rocknrollbride.com/2011/06/how-to-pose-in-your-wedding-photographs-what-to-do-and-what-not-to-do/